Navigation
Home
Guide
Magic
Bosses
Abilities
Blitzball
Key Items
Sphere Grid
Omega Ruins
Monster Arena
Fiend/Item List
Airship Passwords
Cloudy/Celestial Mirror
Weapon/Armor Abilities
Aeons
InfoIfrit
Ixion
Shiva
Anima
Valefor
Yojimbo
Bahamut
Magus Sisters
Characters
YunaLulu
Tidus
Rikku
Auron
Wakka
Kimahri
Legendary Weapons
NirvanaGodhand
Caladbolg
Masamune
Spirit Lance
Onion Knight
World Champion
BEVELLE
Warrior Monk, YKT-63, YAT-99, Cave Iguion, Sahagin,
Swamp Mafdet, Bat Eye, Aqua Flan, Maze Larva
Grothia, Pterya, Spathi, Phlegyas, Octopus,
Evrae Atlanta, Seymour Natus, Mortibody
OBJECTIVES:
- Crash Seymour's wedding plans
- Eliminate the soldiers of Yevon
- Escape into the Cloister of Trials
- Reuinite with Yuna in the Chamber of the Fayth
- Stand trial for your crimes against Yevon
- Help Yuna find other party members in the Via Purifico
- Confront Isaaru
- Trap Evrae Atlanta in the underwater channels
- Face Seymour's wrath
KEY ITEMS:
Al Bhed Primer vol. XXII
ITEMS:
HP Sphere, Knight Lance, Black Magic Sphere, Mega-Potion,
Elixir, White Magic Sphere, Skill Sphere, Lucid Ring,
Avenger, Rematch
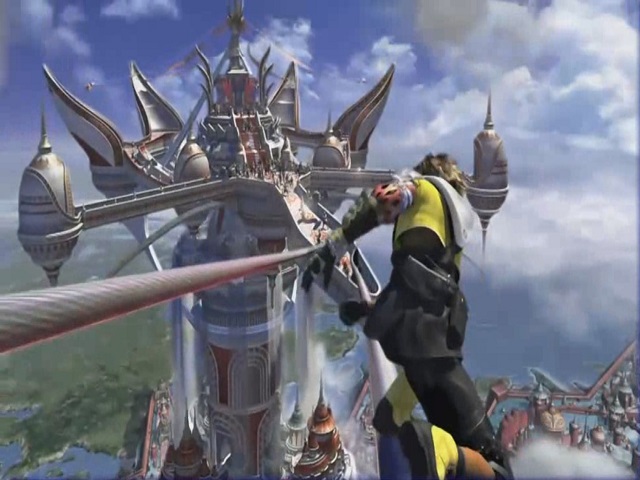
NEVER MEANT TO BE
After the party lands on the roof of Bevelle Temple, heal everyone beforeproceeding. You must now charge through several waves of Bevelle guards, so
it's best to start strong.
The Warrior Monks with flamethrowers provide the toughest fight, because
they can douse the entire party with fire. The second fight consists of two
Warrior Monks with flamethrowers and a giant machina. Use a Dark Attack or a
Smoke Bomb to blind the machina, and then quickly kill the Warrior Monks.
Proceed toward Seymour until you enoucnter a YAT-99. Defeat the guards in
front first to advance on the machina.
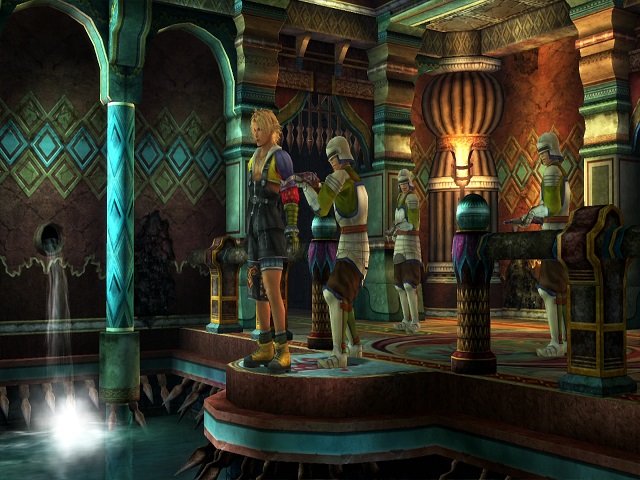
THE TRUE FACE OF YEVON
After Yuna and the others make their separate escapes, use the Save Sphereand descend into the temple. The circular stairs are easier to descend if you
use the machina panel at the top. Head down to the Cloister of Trials.
BEVELLE TEMPLE
CLOISTER OF TRIALS
party must push a pedestal holding a Bevelle Sphere onto the path, causing the
pedestal to transform into a moving platform. The sphere must present or the
pedestal will not work. After Tidus rides down to the first stopping
point, press X/A to begin.
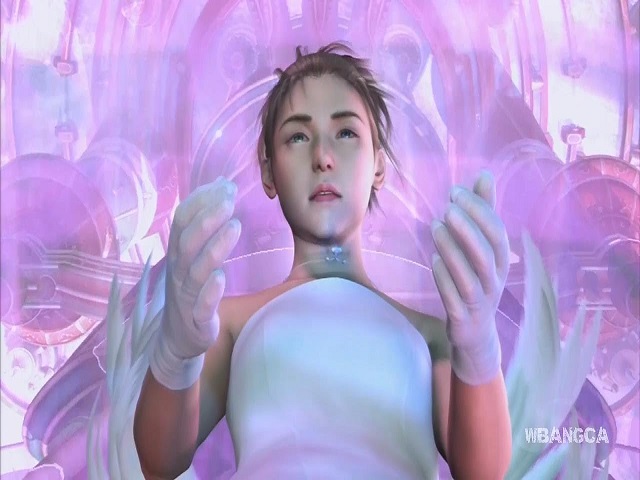
PUNISHMENT OF THE SUMMONER
After Yuna receives the aeon Bahamut, the party is sentenced to the Via-Purifico. The separated heroes must find their way back together to escape
from Bevelle.
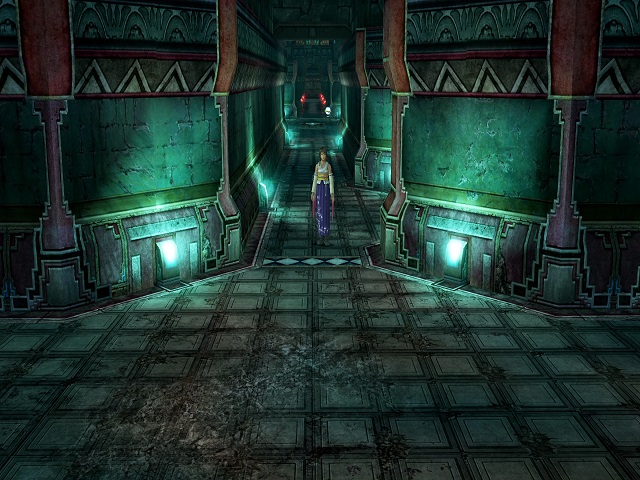
MAZE OF SORROW
Controlling Yuna, move east out of the starting chamber and follow thecorridor. Three of your party members are in the maze, and you can find them
by using the teleport pads or simply wandering through the area. Since it's
very important for Yuna to develop and learn new abilities, I would suggest
that you wander through the area and avoid teleporting.
Follow the corridor east and then north until you enter a room with Kimahri.
After he rejoins the party, move left and open the treasure chest for a
Mega-Potion. Continue north from where you picked up Kimahri, and the
winding corridor will eventually lead you west to Auron.
Use the Save Sphere and continue west. Go straight through the next T-
intersection until you reach a locked room with a few treasure chests. We'll
return to these later. For now, head south. Follow the corridor until you
reach another teleport pad, and turn onto the short eastern path. This
takes you to Lulu, and beside her is a treasure chest containing a
White Magic Sphere.
Continue south from where you found Lulu until you reach a dead end.
Collect the Elixir from the treasure chest, and activate the glyph in the
the rubble. Return north to the last T-intersection and head east. The corridor
eventually returns you to the room in which you started.
THE LOCKED ROOM
To get the treasure chests in the locked room, move north from the firstSave Sphere and take the first right turn. A Black Magic Sphere is in the
right side of the chamber, and the floor glyph should now be active. When
you step on it, the teleport pad outside is moved to a new location
to the west.
Go back toward the Save Sphere where you located Auron, and head west
again. When you reach the chamber where the gate bars your path, stand by the
teleport pad. When the glyph arrow points toward the room, step on the pad
to teleport inside. Now you can collect the Skill Sphere and the Lucid Ring
inside. Return to the last Save Sphere and head north through the
red-lit corridor.
ISAARU
THE WATERLOGGED ONES
To the right of Tidus's starting position in the underwater channels is a bluechest where the trio can purchase items. Before proceeding, consider
customizing one of Tidus's weapons to get the piercing ability. Most of the
creatures in this area possess strong armor, and piercing weapons are
the most effective.
Swim forward and around the corner until you see another Save Sphere. Make
sure you save your progress before proceeding into the round chamber.
EVRAE ATLANTA
THE HIGHBRIDGE
Newly reunited, the party runs into Seymour again. Unwilling to sacrificeKimahri, Yuna and the others come to his aid.
There are two Save Spheres on the Highbridge, one at each end. This area is
an extremely good place to level up. If Yuna can gain enough AP, try to learn
the Reflect ability. Try to get each character into Overdrive mode but save
the attack for the upcoming boss fight.
SEYMOUR NATUS