Navigation
Home
Guide
Magic
Bosses
Abilities
Blitzball
Key Items
Sphere Grid
Omega Ruins
Monster Arena
Fiend/Item List
Airship Passwords
Cloudy/Celestial Mirror
Weapon/Armor Abilities
Aeons
InfoIfrit
Ixion
Shiva
Anima
Valefor
Yojimbo
Bahamut
Magus Sisters
Characters
YunaLulu
Tidus
Rikku
Auron
Wakka
Kimahri
Legendary Weapons
NirvanaGodhand
Caladbolg
Masamune
Spirit Lance
Onion Knight
World Champion
MT. GAGAZET
Biran, Yenke, Grat, Bashura, Grenade, Imp,
Bandersnatch, Nidhogg, Mech Leader, Mech Defender
Seymour Flux, Mortiorchis, Mandragora, Dark Flan,
Behemoth, Maelspike, Achelous, Splasher, Grendel,
Ahriman, Sanctuary Keeper
OBJECTIVES:
- Gain permission to climb Mt. Gagazet
- Settle Kimahri's differences with Biran and Yenke
- Survive Seymour's insanity
- Connect with the fayth
- Swim the channels in the cave
- Unlock the secrets of Gagazet
- Slay the Sanctuary Keeper
KEY ITEMS:
Braska's Sphere
ITEMS:
20,000 Gil, Lv. 4 Key Sphere, Recovery Ring,
Mega-Potion(x2), Lv 1. Key Sphere, Star Armguard,
Defending Bracer, Fortune Sphere,
HP Sphere, Return Sphere
THE RONSO HOMELAND
After Yuna gains the permission of Kelk, speak to the other Ronso in the areaand save your game. The taller Ronso on the right side sells items and weapons.
If you're low on Hi-Potions and Holy Waters, you should stock up immediatley.
BIRAN / YENKE
THE CHALLENGE OF GAGAZET
After the fight, return to the gateway and save your game. The road ahead isfraught with peril and few Save Spheres. In the area with lots of ledges on
either side, hop onto the top ledge to the right to find a hidden treasure chest
containing 20,000 Gil. Then continue up the left side of the path until you
find two Mega-Potions.
As you proceed up Mt. Gagazet, you'll encounter graves of fallen summoners
and guardians. Continue up the zigzagging path, until you find a short and
narrow path heading north around a large rock. At the end of this path is
Braska's Sphere. If this is the third sphere you've obtained, Auron will learn
a new Overdrive technique.
Continue up the path until you reach a T-intersection. Keep going straight to
find a Defending Bracer, which is fantastic armor for Auron. Then return
to the intersection and head north. Around the next corner, you meet O'aka's
brother, Wantz.
From Wantz's location, descend the slope. When it rises again, look for a small
spot under the path to find two treasure chests. Open these for an HP Sphere
and a Lv. 4 Key Sphere. Head east from here and then north to another
grim landmark.
SEYMOUR FLUX / MORTIORCHIS
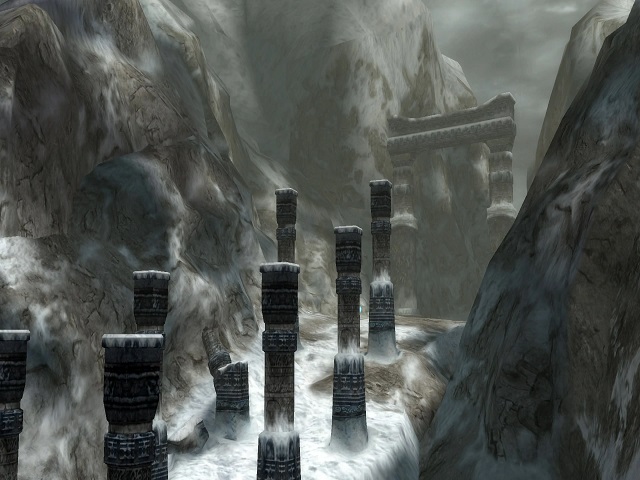
CAVERN OF DARKNESS
After a quick nap near the fayth cluster, continue up the mountain into thecaves. A strange hole next to the Save Sphere prevents you from continuing
north. Go through the cavern to the west until the party reaches an underwater
area. Tidus, Wakka, and Rikku will continue onward without the others.
THE FIRST TRIAL OF GAGAZET
As the opening in the shield rotates, press X/A to throw the ball throughthe shield and hit the glowing orb in the middle. Simply watch the speed and
timing of the rotating shield, and you should have no trouble hitting it. A
treasure chest appears in front of the shield containing a Lv. 1 Key Sphere.
NEW PATHS OPEN
Return through the water to the area with the Save Sphere. The massive holehas been replaced with a stairway, so ascend the steps and move north to the
next watery area. The trio will split off again to swim ahead.
THE SECOND TRIAL OF GAGAZET
Swim to the end of the second channel to find a set of three lights. Youneed to guide each character into one of the colored lights. the color
corresponds to each character's color on the Sphere Grid.
Green - Rikku
Blue - Tidus
Orange - Wakka
Passing this trial causes a treasure chest to appear.Inside the chest is a Fortune Sphere.
GAGAGET UNLOCKED
Swim back through the tunnel and return to the area near the Save Sphere.Rocks have fallen in the south passage, paving the way to yet another short
swim. There are two treasure chests near a cliff on the other side of the
channel. Get a Return Sphere and a Recovery Ring from the chests and
return to the Save Sphere. As you move west down the first corridor, you'll
see that boulders have created a path to a previously inaccessible treasure
chest. Grab the Star Armguard and go back to the north passage.
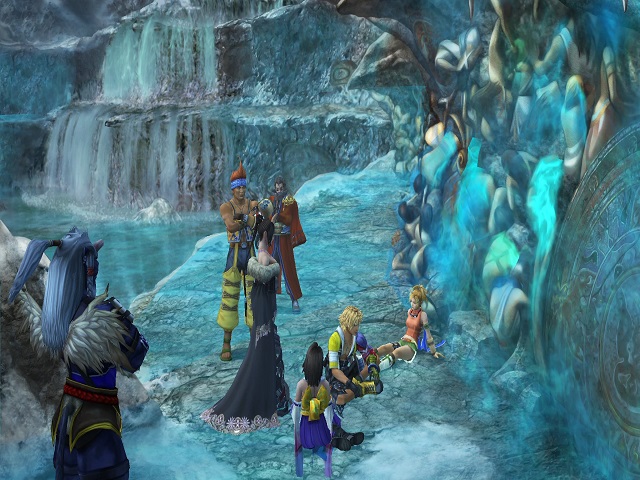
A path has now formed heading up the left side of the second chamber. Cross
the rocks until Yuna and Auron have a conversation, and then use the final
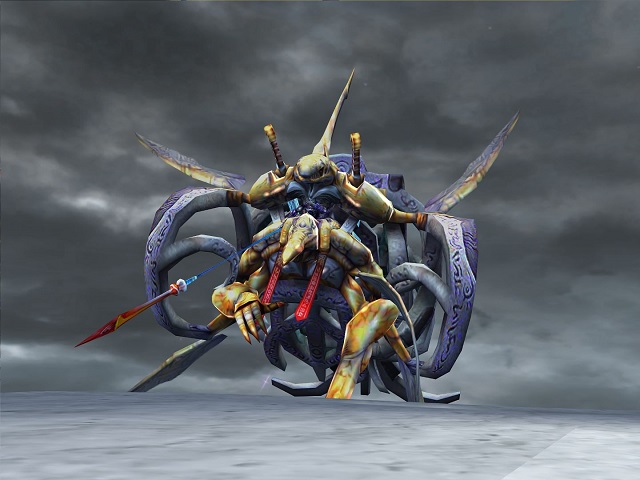
Save Sphere and exit the caves. Your arrival at the summit is greeted by a
particularly vicious predator.
SANCTUARY KEEPER